On this page
Last Updated on October 4, 2026 by Muhammad Toqeer
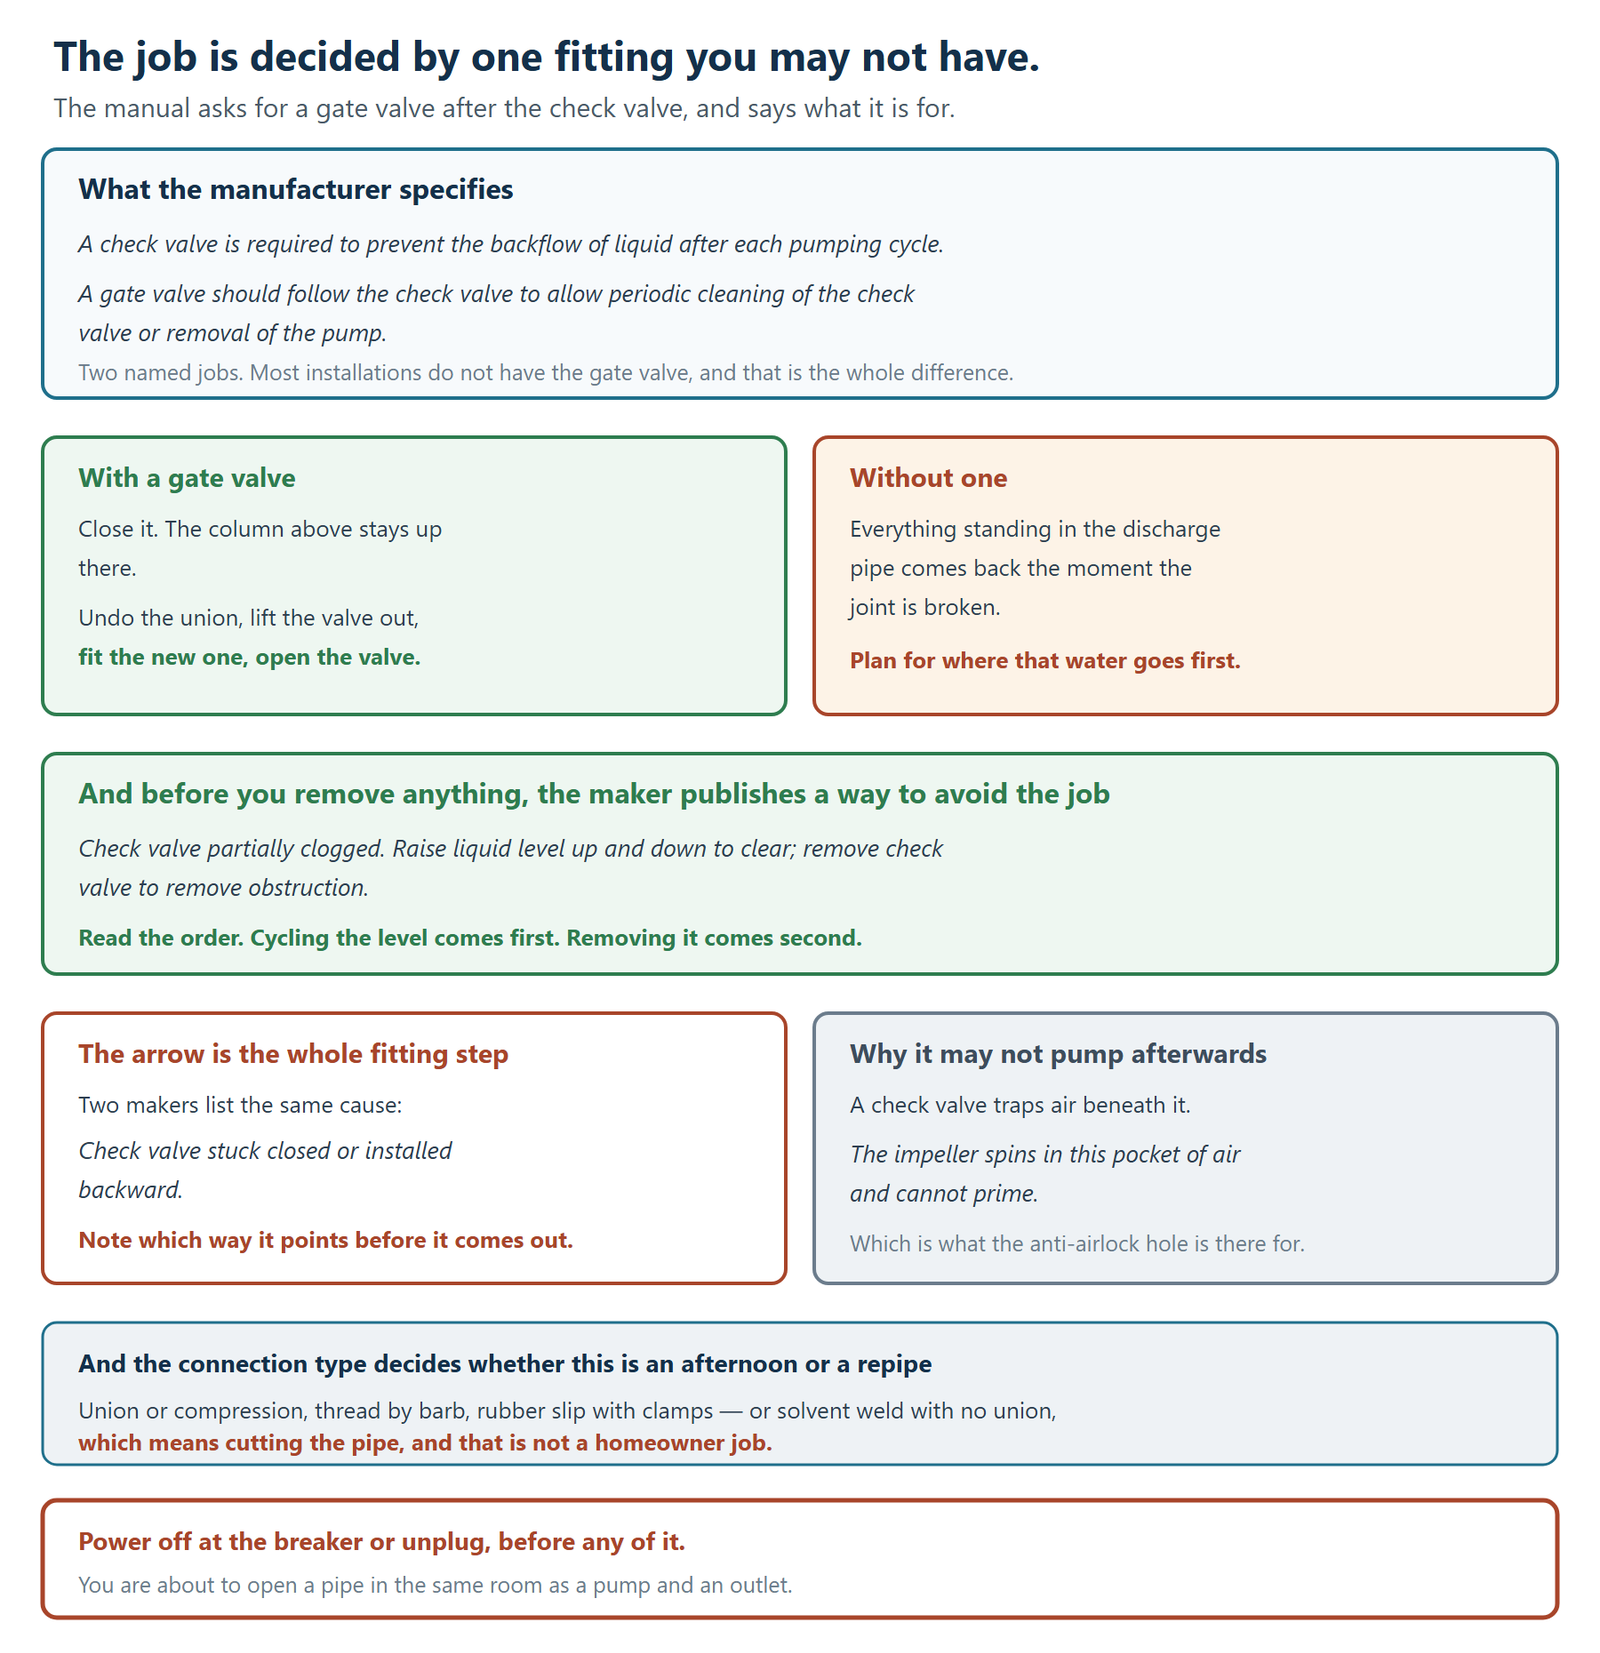
Look for a gate valve above the check valve before you plan anything. The manufacturer asks for one, and says exactly what it is for:
“A check valve is required to prevent the backflow of liquid after each pumping cycle. A gate valve should follow the check valve to allow periodic cleaning of the check valve or removal of the pump.“
Most installations do not have it. And that single missing fitting is the difference between a ten-minute swap and a wet afternoon — because everything standing in the discharge pipe comes back the moment the joint is broken.
And before you remove anything, there is a published way to avoid the job entirely.
Try this first, if the valve is clogged rather than failed
From the manufacturer’s own troubleshooting table:
“Check valve partially clogged. Raise liquid level up and down to clear; remove check valve to remove obstruction.”
Read the order of those two remedies. Cycling the level comes first. Removing the valve comes second.
What it means in practice: run water into the pit and let the pump cycle deliberately, several times. The flapper is worked open and shut against moving water, and a partial obstruction can clear itself.
It is free, it is reversible, and it is the only step on this page that does not involve opening a pipe. If the valve was partly clogged rather than worn out or seized, you are done.
If it changes nothing, the valve comes out.
What you need
Parts:
- The replacement valve, matched to the connection you already have — and that matching is a real decision, not a formality, because spring and angled-seat valves do different things
- Whatever the connection needs — hose clamps, union gaskets, or PVC primer and cement for a solvent-weld joint
Tools: a bucket and towels, a screwdriver or nut driver for clamps, pipe wrench or adjustable wrench for unions, and a tape measure.
And the thing to check before you buy: which of the four connection types you have. Union or compression, thread × barb, rubber slip with hose clamps, or solvent weld with no union. That list and what each one means is on the buying guide, and it decides whether this is an afternoon or a repipe.
Safety, before the steps
Power off at the breaker, or unplug the pump and its switch together.
You are about to open a pipe in the same room as a pump and an outlet, and the pump must not be able to start while the discharge is open.
And if the valve is on a sewage or effluent basin rather than a clear-water sump, stop here. That is a different exposure and a different job.
The steps
1. Kill the power, and confirm the pump cannot run.
2. Deal with the column of water.
If there is a gate valve above the check valve, close it. That is what the manufacturer put it there for, and the column above stays where it is.
If there is not, work out where the contents of the discharge pipe will go when the joint opens. A vertical run to a sidewall or a yard discharge can hold several gallons. Bucket underneath, towels down, and expect it.
3. Note which way the arrow points, before anything comes apart.
This is the step that matters most, because two manufacturers independently list the same fault:
“Check valve stuck closed or installed backward. Remove check valve and examine for freedom of operation and proper installation.”
A valve fitted the wrong way round produces a pump that runs and moves nothing, from the moment the work is finished. Photograph it if there is any doubt.
4. Open the connection.
Union or compression: undo the union nut and lift the valve out. Thread × barb: unscrew it. Rubber slip: loosen the two hose clamps and slide it off.
Solvent weld with no union: stop. This means cutting the pipe and fitting new couplings, and it is where this stops being a homeowner job.
5. Fit the new valve with the arrow pointing away from the pump.
6. Check it is the same length, or that you have the couplings to make up any difference. A valve that is shorter than the one it replaced leaves a gap that has to be closed properly, not stretched into.
7. Restore power and run a full cycle, watching the joint and watching the pit empty.
Why it might not pump afterwards
Worth knowing before you conclude the new valve is faulty.
A check valve traps air beneath it. From the same manual, describing why the pump has an anti-airlock hole at all:
“When the basin fills with water and the pump is called to activate, the impeller spins in this pocket of air and cannot prime.“
Disturbing the valve disturbs that air pocket. A pump that spins without moving water on the first cycle after a valve change is usually working through trapped air, not failing — and the hole in the pump body exists to let it out.
One-minute check: let it cycle two or three times before deciding anything. If it is still not moving water after that, go back to the arrow.
What this does not cover
Where the valve should sit. If your pit has two pumps, the position of the valves relative to the tee decides whether the arrangement works at all — and a reader discovering their single valve is in the wrong place is facing a relocation rather than a swap.
Which valve to buy. Two quite different valves are sold as quiet and only one stops the bang, and that choice is made before any of this.
And if the reason you are here is a pump cycling repeatedly, a valve that is not holding is one cause among several — a pump running with no rain in the forecast has its own list.
When this needs a pro
Any solvent-welded joint with no union. Cutting into a live sump discharge and making new solvent joints is pipework, and a failed joint on a discharge line fails when it rains.
Any sewage or effluent basin. Different exposure, sealed lid, different rules.
A valve you cannot reach without dismantling something else, or one above head height on a run you cannot support while you work.
And a discharge line you are not sure about. If the pipework, the pit and the pump have never been looked at as a system, the valve may not be the thing that needs changing.
What you can do yourself before deciding: look for a gate valve above the check valve, identify your connection type, and try the level-cycling trick. Three things, no tools — and between them they tell you whether this is a part you buy or a plumber you call.
FAQ
Do I need to drain the pipe before changing a sump pump check valve?
You need to deal with whatever is standing above the valve, because it comes back as soon as the joint opens. If the installation has the gate valve the manufacturer asks for, closing it holds the column up. If not, plan for the contents of the discharge pipe arriving in the pit and on the floor.
What is the gate valve above a sump pump check valve for?
The manual states both purposes: to allow periodic cleaning of the check valve, or removal of the pump. It is a serviceability fitting, and installations without one make both of those jobs considerably messier.
Can I clear a clogged check valve without removing it?
The manufacturer publishes exactly that, and lists it before removal: raise and lower the liquid level to clear it, and only remove the valve to clear an obstruction if that fails. Cycling the pump works the flapper against moving water.
Which way does a sump pump check valve go?
With the flow arrow pointing away from the pump. Two manufacturers list “stuck closed or installed backward” as a cause of a pump that runs without moving water, so note the orientation of the old valve before it comes out.
Why won’t my pump move water after I changed the check valve?
Often trapped air rather than a fault. A check valve holds an air pocket beneath it, and the manual notes that the impeller can spin in that pocket and fail to prime — which is what the anti-airlock hole in the pump exists to relieve. Let it cycle a few times before concluding anything.
Can I replace a check valve that is glued into the pipe?
Not easily, and not as a swap. A solvent-welded valve with no union means cutting the pipe and making new joints on a live sump discharge, which is where this becomes a plumber’s job rather than a part replacement.